In Step 2, based on the contents noted in Step 1, you'll be issued a code needed for setting linkage.
Steps
1.Open the Smart Forms admin screen
Log in to Sansan and open the Smart Forms admin page from the menu in the upper right.

2. Enter form name and URL
Click to link the forms, enter the form name and URL you wrote down in Step 1, and click "Next".
The form name and URL can be changed later.

3. Create item linkage code
3-1. Check to see if any items are missing
For each of the items to be linked, which listed in Step 1, check to see if there is any missing code for the corresponding linkage. Frequently used items such as first name, last name, and company name are created in advance. (There’s no need to delete unnecessary items.)

3-2. Adding missing items
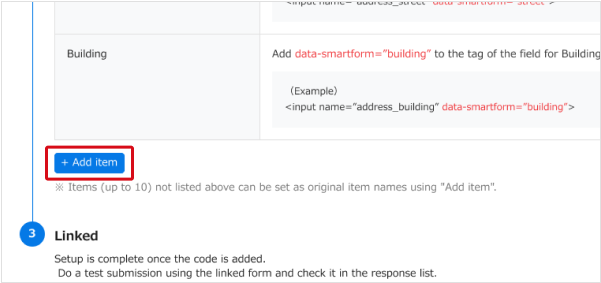
Add any missing items by clicking at the bottom of the list to add them.

Item names can be changed with "① Edit".
If the data format is a checkbox or radio button, change "② input type".
If the data format is other than these, leave "other" as is.

4. Finished(go to Step 3)
If all the items to be linked are present, Step 2 is finished.
Go to STEP 3 and add the code shown on the right of each item to the HTML of the form to be linked.