In Step 3, the code issued in Step 2 is added to your form's HTML. The form’s source code needs to be edited for the setup.
If someone outside your company will be dealing with the HTML go here.
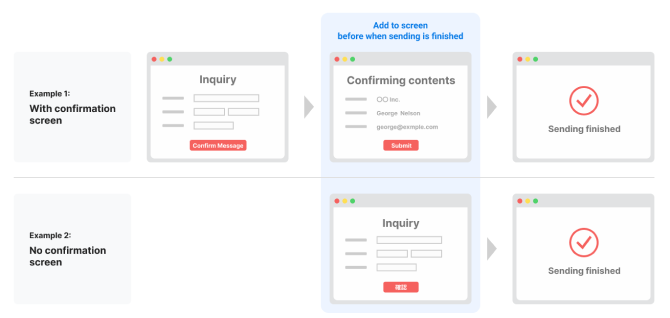
Add the linkage code to the screen just before the submission is finished.

Steps
1. Add scripts and codes for linked
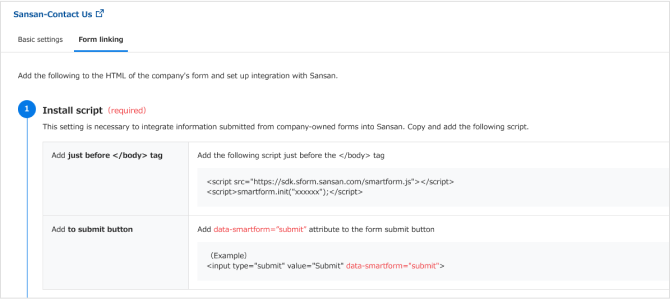
1-1. Adding Script
From Sansan, check for the "Form linking" tab on the Smart Form editing screen.
Following the instructions in "① Install script".

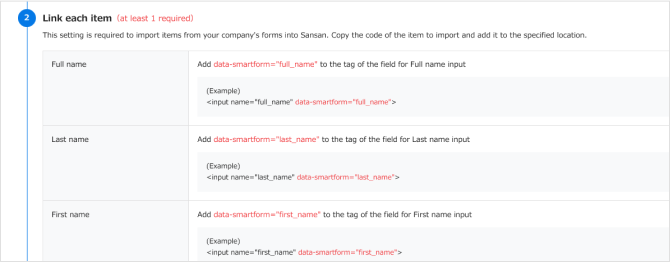
1-2. Add code for linking each item
Next, add the linkage code created in Step 2 to the designated sections of each item to be linked.
See below for items to take care with when during linkage setup.
Smart Forms: Form Linkage Settings (Important Points)

If someone outside your company is doing the setup
The list of scripts and codes for linkage can be copied together.
Copy the list of codes from the link on the right and share it with whoever will be using it.

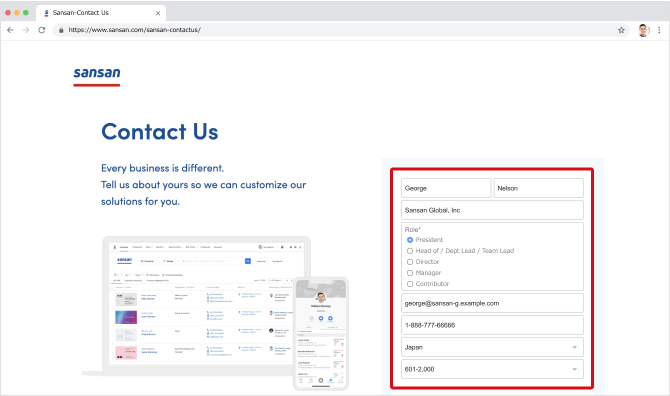
2. Test submission from the form
After completing 2, do a test submission to make sure the linkage is working.
Enter and submit anything you like on the form.
The submitted information can be deleted from the response list later.

3. Confirmation from response list
After the test transmission, check the data sent in 2 from the "Response list" screen.
As shown in the image below, the work is done if the submitted information shows correctly.
