Here we will explain how to do device settings with Field3 tablet PCs.
Device image (Hardware diagram)

- Tablet PC
- Electric cord (for the tablet PC)
- Scanner
- USB cable for connecting to the tablet PC.
- Electric cord (for scanner)
Procedure
1. Connect the cables of the devices.
*Number stickers are attached to the main body of the tablet PC and each cord.
Please insert them into the corresponding numbered locations.
The PCT01 is a freestanding tablet with no keyboard. Use it with the stand as shown below.

2. Turn on the scanner.
There is no power button for the scanner, but it turns on when you open the cover.
[ For iX1500 ]
After opening the lid, attach the back cover as shown in the illustration.
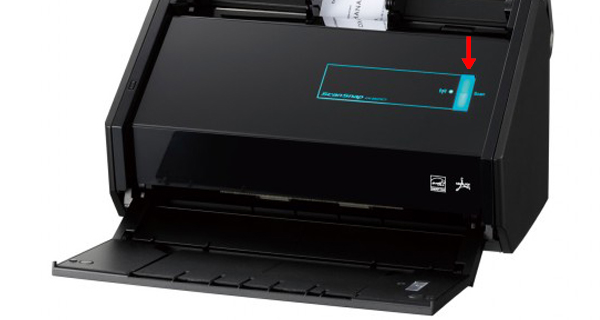
[ For iX500 ]
When the power is on, the blue light in the picture below will come on.
3. Lightly press the switch on the top of the tablet PC to turn it on.
When the PC is turned on, it is set for auto log-in.
*The Windows account name will be either "Sansan" . There is no password set.
4. When the start up is finished, the scanner app screen will come up.
If you are connecting with wired LAN or DHCP (automatic IP address acquisition), "Connected" will appear in the lower left of the scanner app. When "Connected" appears, the set up is complete.
When "No Internet connection!" appears, move ahead to doing the internet settings.
Connecting to the internet
Please see the following page for how to connect to the internet with the environment you are using.
When the devices are set up and the scanner app is open, connect to the internet and try scanning some business cards.