By default, cards are scanned as "public" (viewable by all authorized Sansan members in your company). However, you can set them as "private" (so that only you can see them) at the time of scanning. Here's how.
Before you scan
The setting is applied only to the tablet you're using. If your company has multiple tablets, you'll need to change this setting in each of them independently.
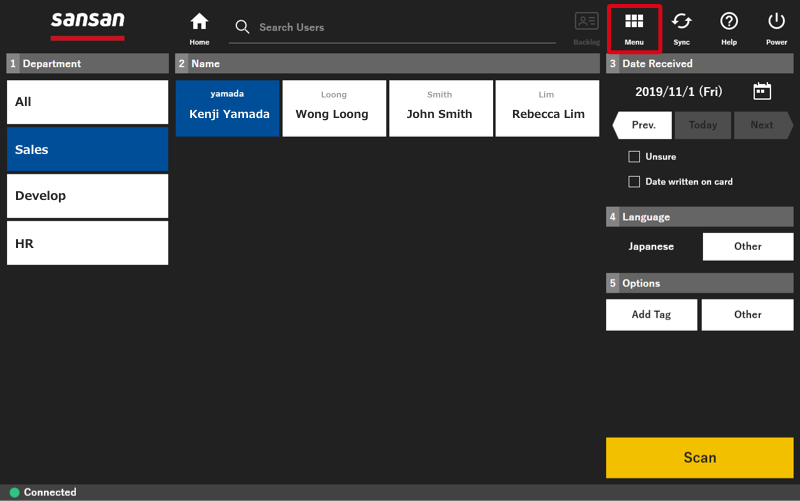
1. Tap [Menu] then [Settings].


2. In [Visibility settings], tap to add a check next to [Show].
3. Tap [Save] in the lower right.

4. Tap [Home] to return to the main menu.

Steps
Setting card(s) to private when scanning
1. Select the user and set up the card(s) as you normally would.
2. In "5. Options", tap [Other].

3. Under "Visibility" tap [Private], then tap [Set].

4. Add a date as necessary and scan the card(s).

Changing public/private settings after scanning
These changes can be made only before cards are uploaded for digitization.
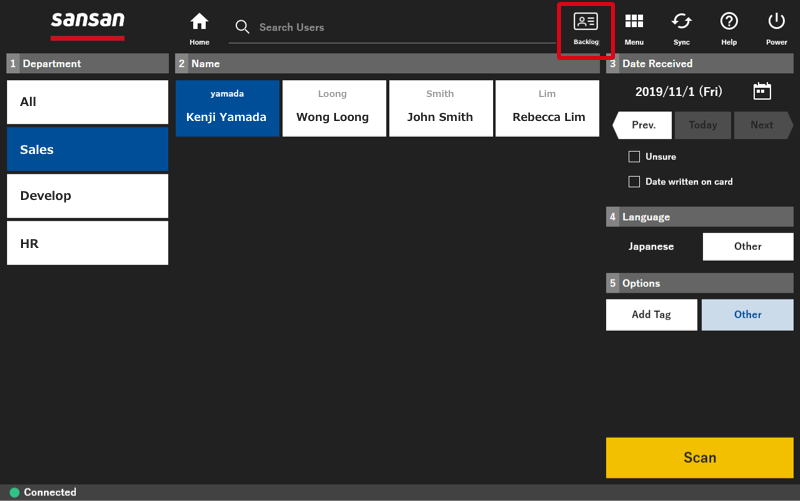
1. Tap the [Backlog] icon in the top right.

2. Tap [Check/Edit] for the card you want to change.

3. Tap [Visibilty] then [Edit].

4. Tap [Public] or [Private].

5. Tap [Update] to save the change.

Points
- Settings need to be made before scanning if you want to scan cards as private.
- Choosing to set a card as private will make all its contents private.
- The default scanning mode is reset to public for each user; so you'll need to choose the private setting each time you scan.