Here we will show how to add users to Sansan. Users registered here will appear on the screen of the Sansan scanner.
There are two ways of adding users.
- Adding them one by one.
- Adding multiple users at once
* This is recommended when adding 50 IDs or more. On this page we will explain how to add users one by one.
Note
- To use this function, you will need administrator-level permission.
- After users have been added, a notification email will be sent to the system administrator.
- Even if you add users beyond the number allowed in your contract, they can still soon use Sansan. However, this will automatically be reflected in the billing.
- When a user is successfully added, a notification will be sent to the user's main email address or sub-email address on the first day of use, indicating that the account was created.
- Subject
- ◯◯, your Sansan login is ready for you to use
- If the start using date is set to the current day, then the email will be sent after the settings are finished.
- If the start using date is some day in the future, then the email will be sent at midnight, the start of that day.
* Please be careful not to make a mistake inputting email addresses, and if a mobile phone contract is cancelled, make sure that the email address for that is deleted.
Please check this before performing settings
Have you finished setting the department settings for the user you wish to add?
Users will always be connected to department hierarchy. If this is not specified, the default setting "Whole company" will be registered as the department, and users can be registered directly there. Also, as needed, departments can be added and deleted, and registered users can be moved to different departments.
Procedure
1. Click on "Admin settings", then on "Manage users"
2. Click on "Add Users".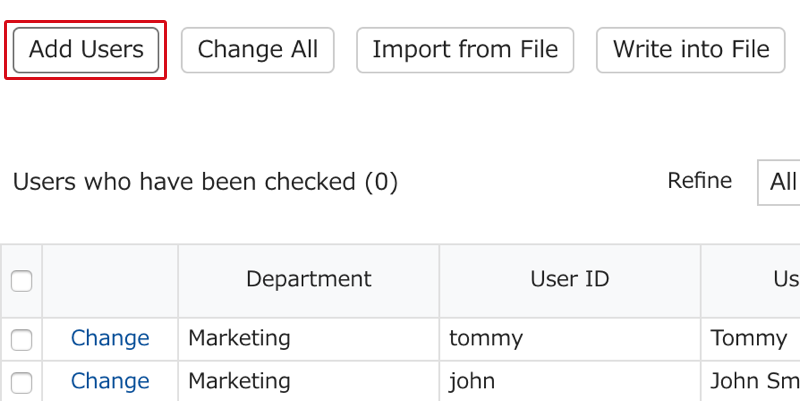
3. Input the required items, and after that click on "Save". 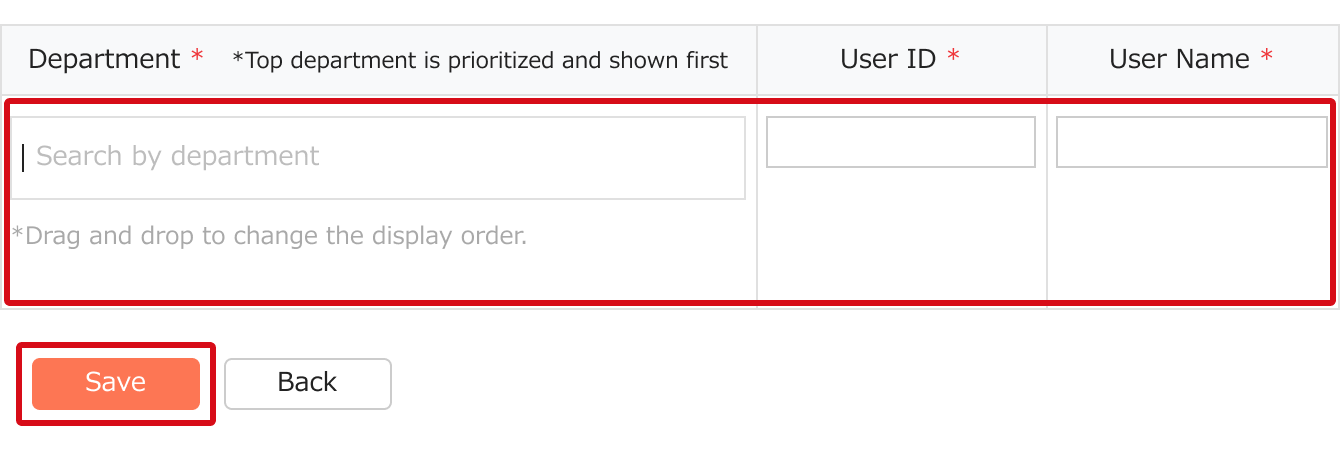
It’s possible to belong to multiple departments, and the display order can be changed by drag and drop. 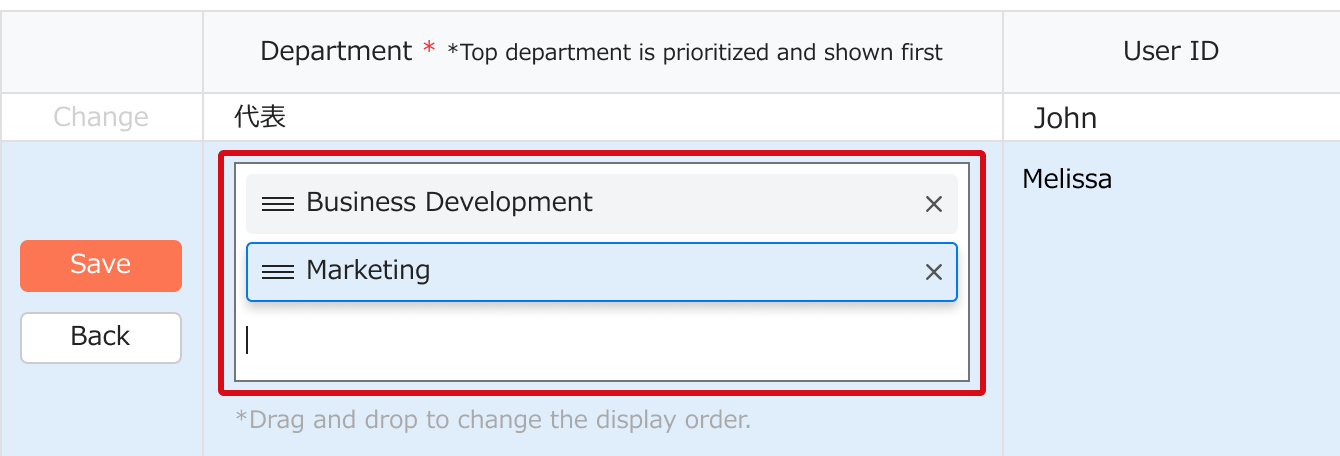
The first division of the department to which a card holder belongs is shown in the card holder information.
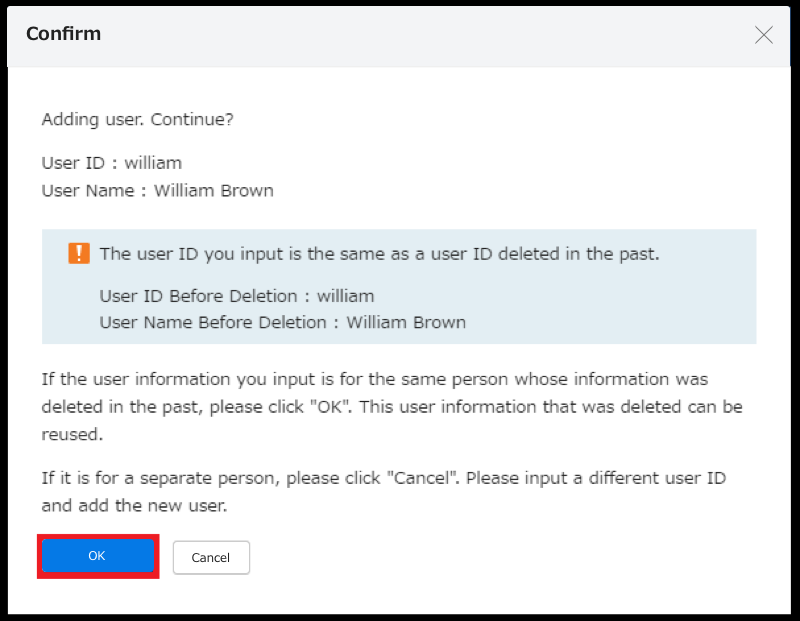
4. After confirming the contents, click on "OK".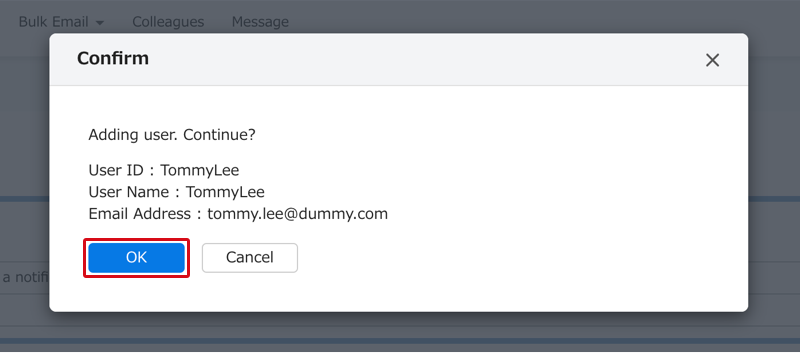
5. When you click on "Sync" at the upper right of the Sansan scanner tablet, the changes will be reflected.

Additional information
If the same user ID has been deleted in the past
As some processing is necessary for reusing a User ID, if the person is the same person who was deleted before, click "OK". If it is a different person, cancel, and register a different ID.
* Only User IDs can be reused.
* If you are adding multiple users at once from a file, this procedure for reusing a User ID cannot be done.
