The opportunity Master is the template defining what items are input and managed in the opportunity. Settings for this are done by the opportunity administrator (* This is different than the system administrator).
Procedure
1. Opening the screen for creating new Opportunity Master
From "Admin Settings", click on "Create Opportunity Master".

2. Basic settings
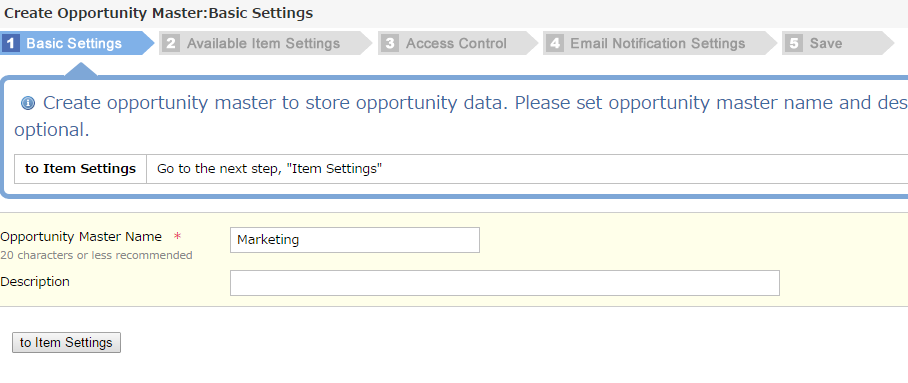
Input a name and an explanation for the Opportunity Master, and then click on "to Item Settings".

3. Available Item Settings
Items that will be used can be selected from the list. As necessary, put checks in "Make a required entry item" and "Show in List", and then click on "Set".

Items will be added to the list. (The initial eight items displayed on the list are basic items and cannot be deleted). You can set up to 100 items, including the basic items and custom items. After the items are set, click on "to Access Control".

On the list will be displayed the items you defined in "Availabe Items". Items not on the list can be newly created from "Create Custom item".

The display order of the items can be changed from "Display Order Settings".
* The display order of basic items cannot be changed.

4. Settings for Access Control
Select the departments and users to whom permission to use this will be given, and then click on "Add". Usage limitations for Opportuniry Master are different that limitations for viewing business cards.On the list, all departments and all users will be displayed regardless of the settings for limitations for viewing business cards.

Departments or users will be added to the list.

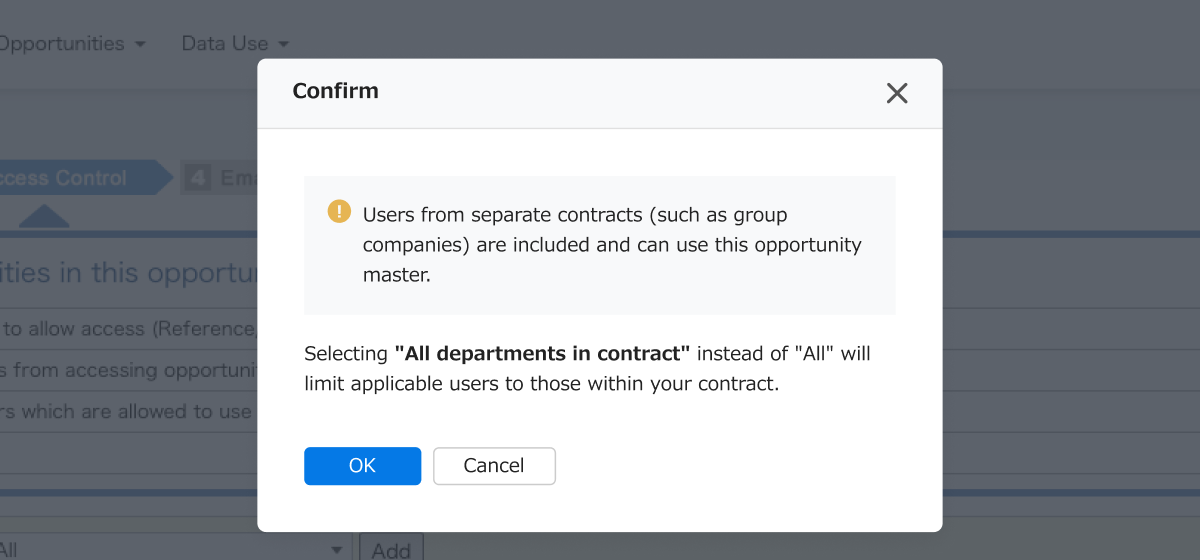
Note that if group companies, etc. use Sansan under a separate contract, selecting "All" for "Department/User" will include users from separate contracts.
Selecting "All departments in contract" will limit applicable users to those within your contract.

5. Settings for downloading
Here you can set the permissions for downloading.

After doing these settings, finally click on "Email notification settings".
6. Set email notifications for when new opportunities are created, edited, or deleted
By default, no notification is sent. You can add notification conditions and recipients by creating a new setting. For more details, see here.

7. Confirming contents registered
A summary of the settings done will be displayed. When you click on "Save", they will be registered. Details of Opportunity Masters registered can be checked from the Opportunity Master list.
